Servers
A server represents an integration server you operate — an Open Integration Engine / Mirth instance. Registering it lets the platform track its channels and provision connections to it.
Registering a server
Section titled “Registering a server”- Go to Servers and choose to add a server.
- Give it a clear name and select its type and version.
- Save to register the server. Registering does not issue credentials. Next, generate a one-time registration token (shown once — copy it immediately) and enter the Server ID plus the token in your server’s Cloud Services panel. Your server exchanges the token for the credentials it uses to stay in sync. You can rotate its client secret later.
Cloud sync
Section titled “Cloud sync”Once registered, your server uses its credentials to sync automatically — keeping its channel list and status current on the platform without manual updates. You’ll configure the matching settings on the server side (in the Gateway Connector / monitoring settings on the server). Keep the registration credentials safe; treat them like a password.
Zero-paste installer
Section titled “Zero-paste installer”Rather than paste secrets by hand, you can download a customized plugin preconfigured with this server’s registration credentials. From a server’s detail page (or the registration walkthrough), choose to generate the plugin:
- Pick how long the download stays valid, then generate and download the ZIP.
- Drop the ZIP into your Mirth instance’s plugin folder and restart.
- The plugin registers itself automatically — no copy/paste of the Server ID or token.
You can also have it pre-pair an admin connection so you can manage the server from the dashboard right away. The detail page shows live progress (downloaded, registered, admin tunnel paired).
For what the plugin does once it’s running, see Gateway Connector.
Managing servers
Section titled “Managing servers”From the Servers list you can:
- Edit a server’s name and details.
- Delete a server you no longer use (this frees tier capacity).
- Share a server with a partner so they can access it — see Sharing servers.
- Connect to a server to open its management interface.
Owned vs. shared servers
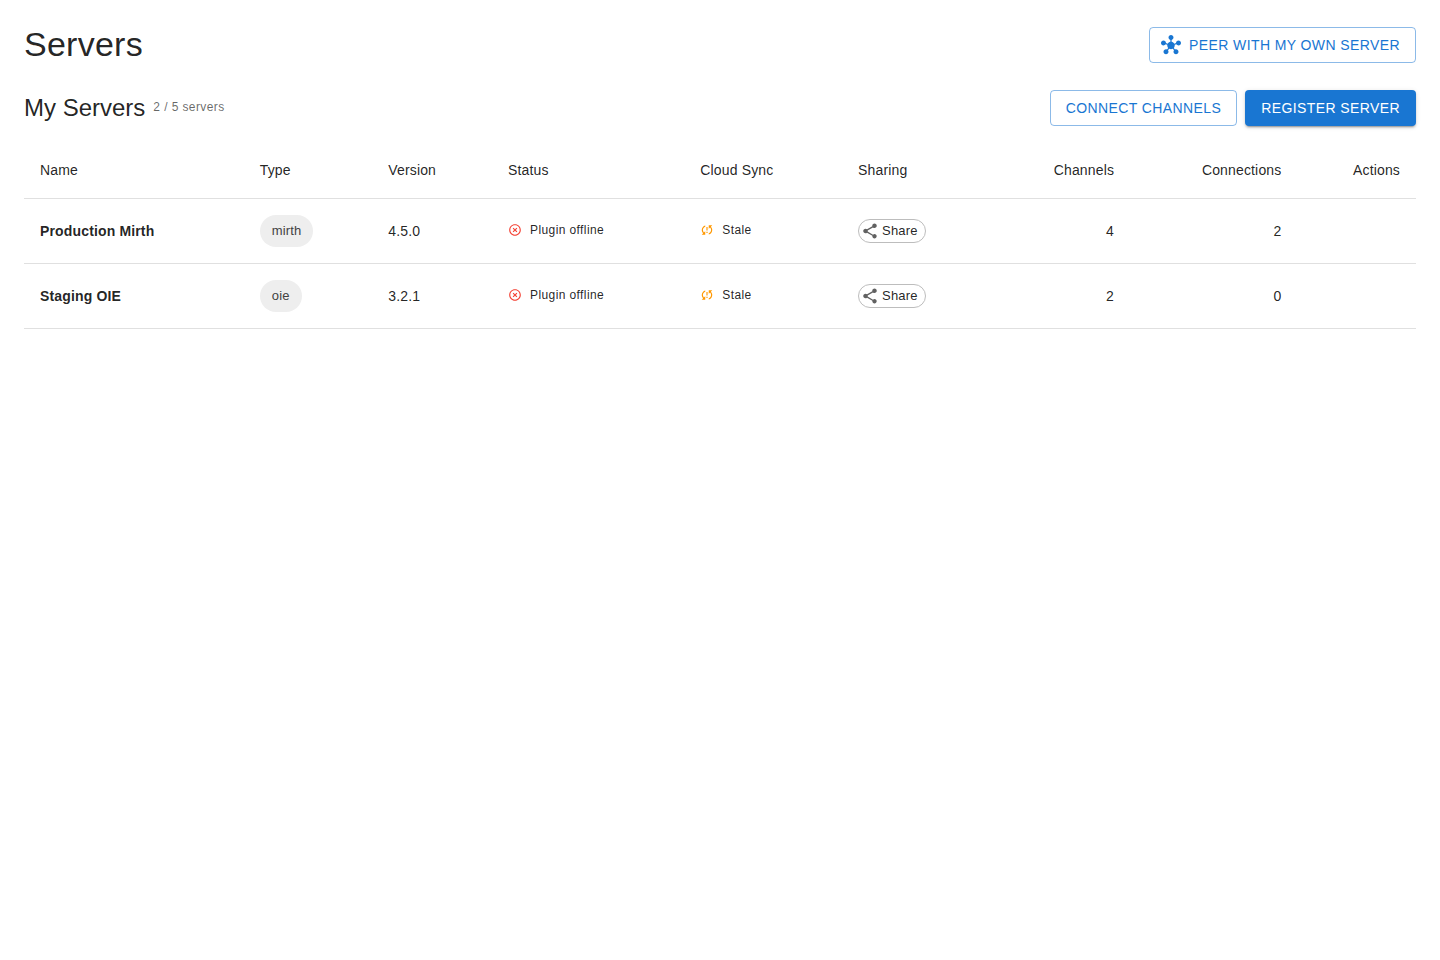
Section titled “Owned vs. shared servers”The Servers page distinguishes:
- Your servers — ones you registered and own.
- Shared with you — servers other organizations have shared, shown alongside any incoming share invitations you can accept.
Transferring ownership
Section titled “Transferring ownership”You can hand a server you own to another user or to an organization you administer. The server doesn’t move until the recipient accepts, and its channels, connections, and shares move with it.
To start a transfer, open the server and choose to transfer ownership:
- Pick a destination — search for another user, or select an organization where you have an admin or owner role.
- Send the transfer. It stays pending until the recipient responds, and expires after 7 days if no one acts on it.
Pending transfers appear in the transfers inbox at /contacts/transfers/, split into two lists:
- Incoming — transfers waiting on you. Accept to take ownership, or decline to leave the server with its current owner.
- Outgoing — transfers you started. Cancel to withdraw one before it’s accepted.
Self-peering
Section titled “Self-peering”You can peer one of your own servers with another (or itself) to test the full flow without a partner. Self-peered connections behave like any other connection and are a good way to validate setup. See Connections.