Plans & billing
You manage your own subscription from two pages: Plans, where you choose a tier, and Billing, where you review your current plan and open the secure payment portal. For what each tier unlocks and the limits that apply, see Subscription tiers.
Choosing or changing a plan
Section titled “Choosing or changing a plan”- Open the account menu and choose Plan (or follow an upgrade prompt). This opens the Plans page.
- Review the plan cards. Your current plan is marked, and unavailable plans are shown as coming soon.
- Select the plan you want. The Free plan applies immediately. A paid plan (Standard or Enterprise) sends you to Stripe Checkout to enter payment details.
- Complete checkout in Stripe. You’re returned to the Billing page, which confirms the result and refreshes automatically once the payment is processed.
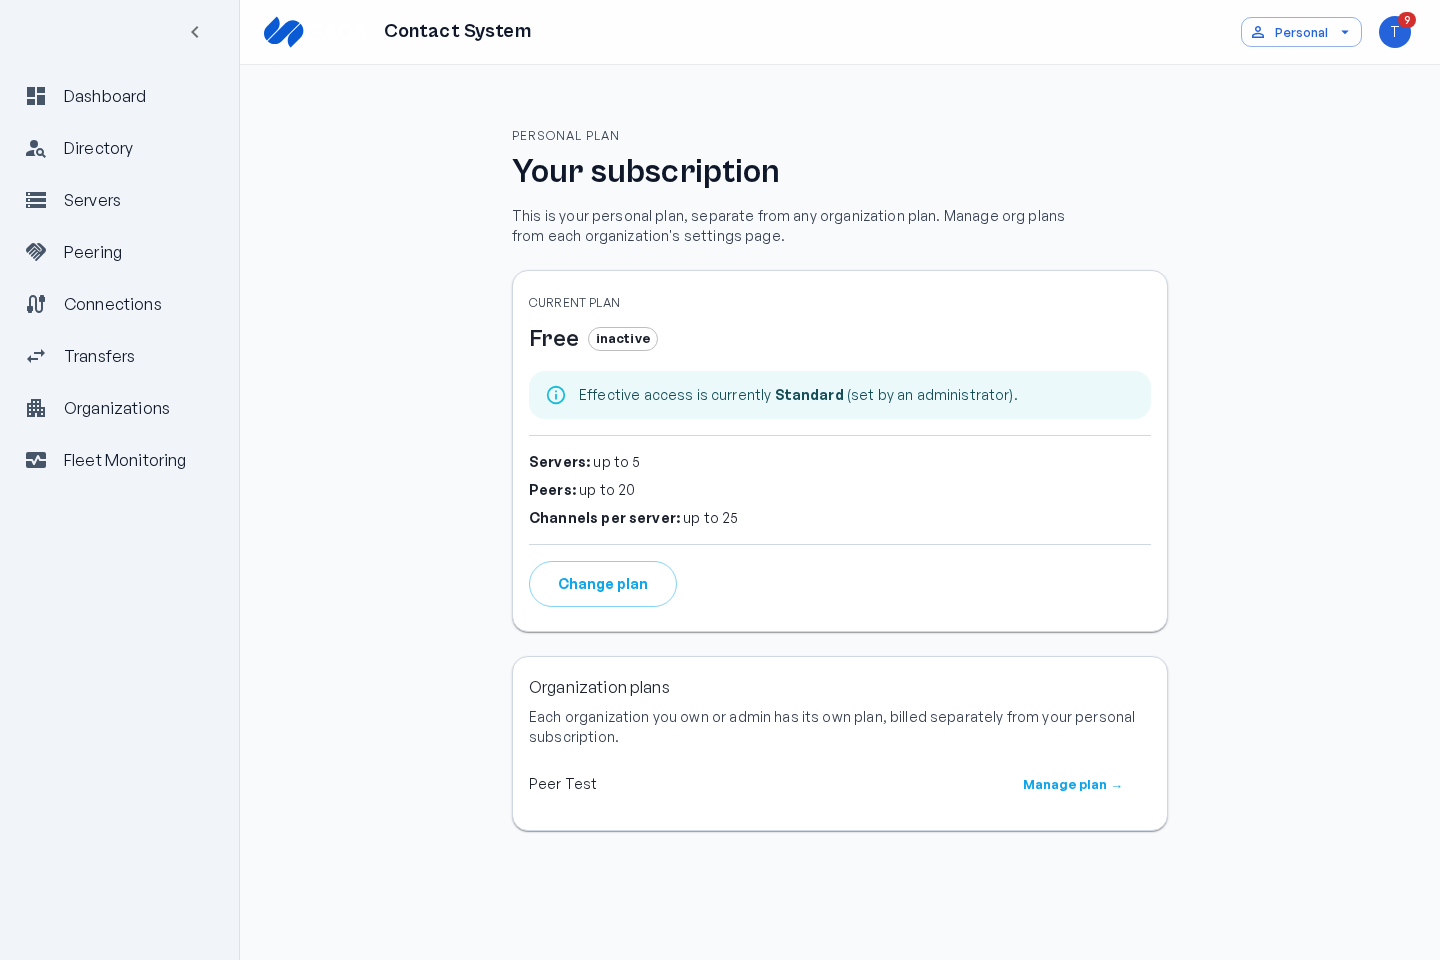
Reviewing and managing your subscription
Section titled “Reviewing and managing your subscription”Open the Billing page to see your subscription at a glance:
- Current plan and its status (for example, active, trialing, or past due).
- Your limits for servers, peers, and channels per server.
- Your next billing date, or the cancellation date if the plan is set to cancel.
To change payment details, switch plans, or cancel, use the option to manage in Stripe. This opens the Stripe Customer Portal, where billing changes are handled securely. The button appears once you’ve completed a checkout. To pick a different plan, use the option to change your plan, which returns you to the Plans page.
When your tier changes, the app reflects it the next time it refreshes your account details, and your connected Mirth servers pick up the new access level shortly after. See Subscription tiers for details.