Extensions
The Extensions page shows every connector type and plugin currently installed on the Mirth Connect server. Use it to enable or disable extensions and to install new ones from a ZIP file.
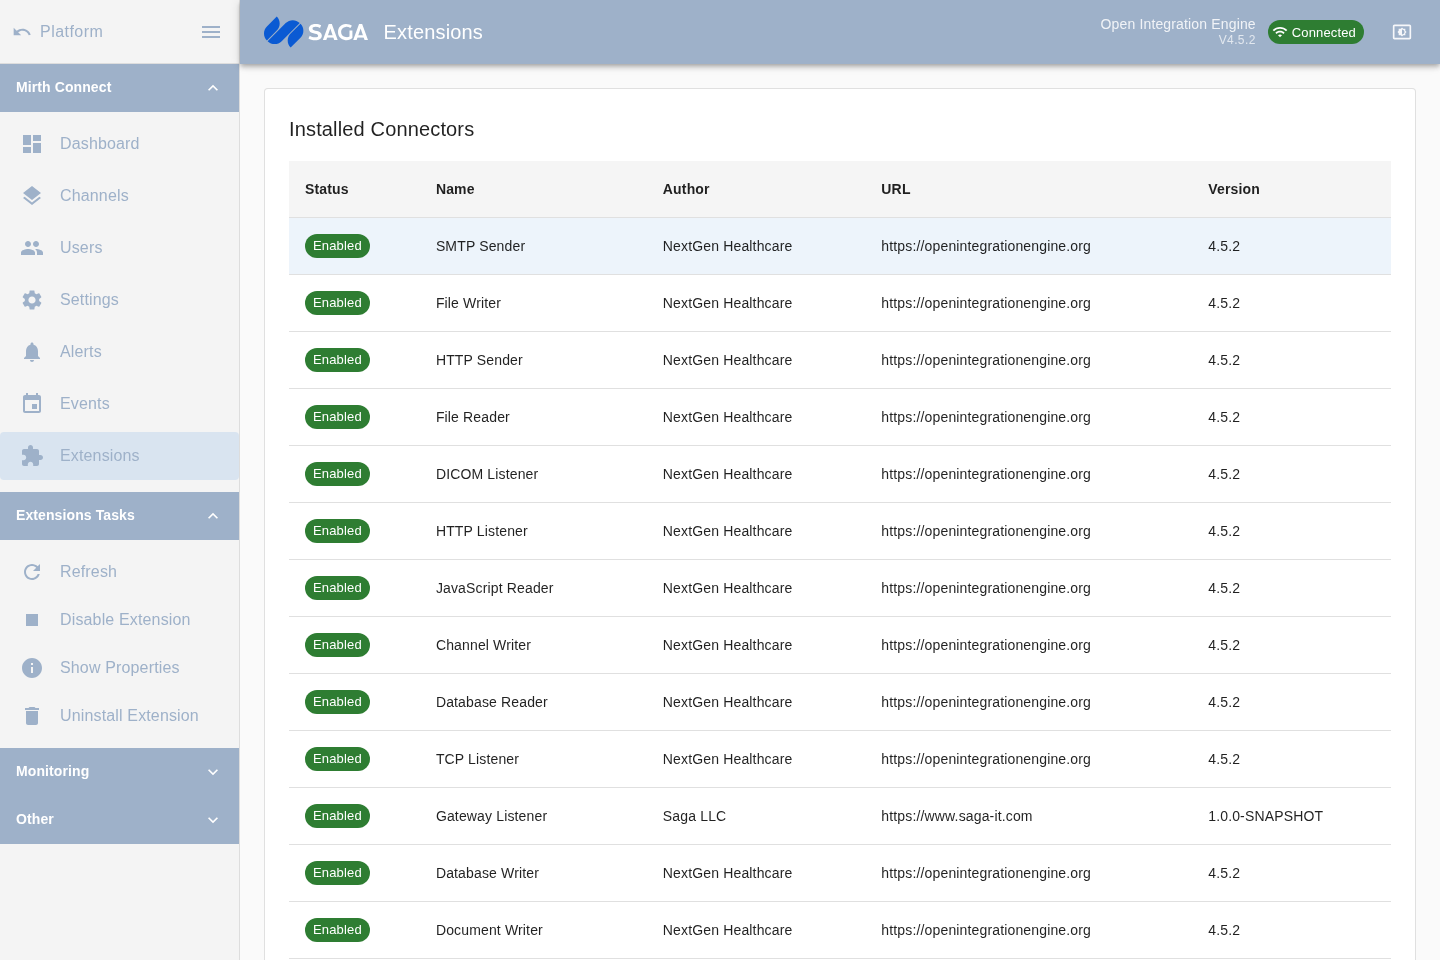
Installed Connectors
Section titled “Installed Connectors”The first table lists all connector extensions — the transport types available when configuring source and destination connectors in a channel. Examples include TCP, HTTP, File, Database, DICOM, and the Gateway Connector (for P2P tunneling).
Columns: Status (Enabled / Disabled), Name, Author, URL, Version.
Installed Plugins
Section titled “Installed Plugins”The second table lists all plugin extensions — server-side capabilities that extend Mirth Connect beyond basic message routing. Examples include the MirthSync plugin and the Alerts Monitor plugin.
Columns: Status, Name, Author, URL, Version.
Enabling and disabling an extension
Section titled “Enabling and disabling an extension”Select a row in either table and use the sidebar Enable/Disable action (or the corresponding toolbar button). The status chip updates to reflect the new state. A server restart may be required for the change to fully take effect, depending on the extension.
Viewing extension properties
Section titled “Viewing extension properties”Select an extension and open the Properties dialog (via the sidebar or toolbar) to see full details: name, category, status, author, version, path, URL, description, and raw metadata.
Installing an extension
Section titled “Installing an extension”Click Choose File in the Install Extension from Filesystem panel, select the extension ZIP file, then click Install. The extension list refreshes automatically after installation.
Uninstalling an extension
Section titled “Uninstalling an extension”Select an extension and use the Uninstall action. A confirmation dialog asks you to confirm. After uninstalling, the extension is removed from the server and will no longer be available to new channels. Existing channels that referenced the connector type may need to be updated.
Pre-installed extensions
Section titled “Pre-installed extensions”The platform ships with a curated set of extensions pre-installed in the Docker image, including the Gateway Connector plugin that powers P2P tunneling. See Subscription tiers for which extensions are included at each level.